


Reference-to-Video Prompting Guide
On this page
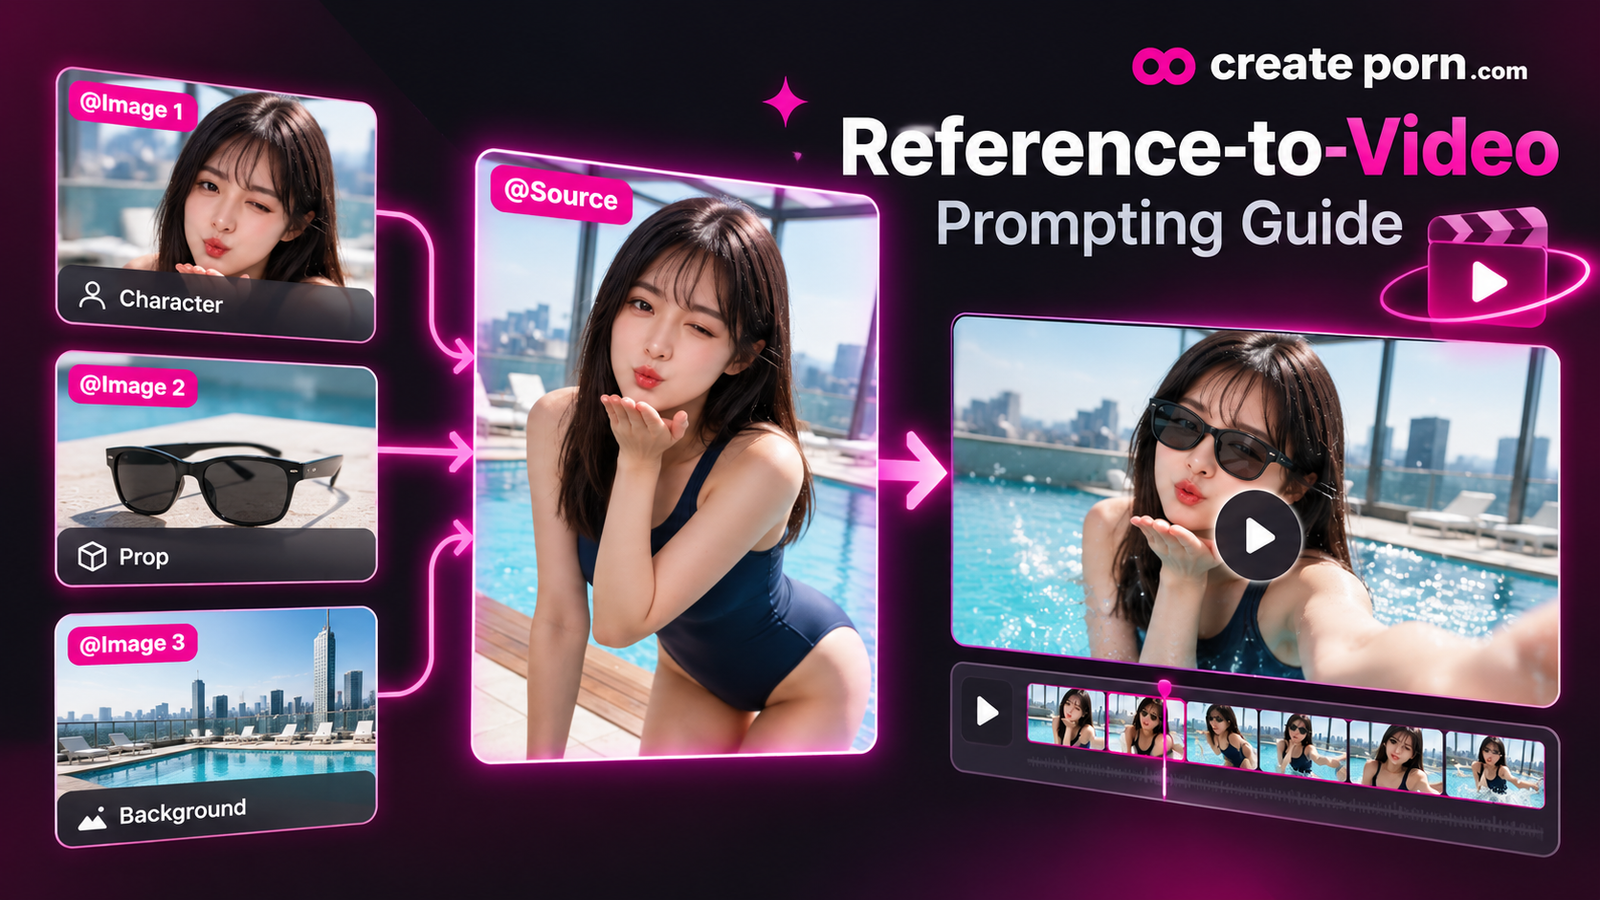
Reference-to-Video lets you use existing Characters, Props, Backgrounds, and Source images as visual references when generating videos.
You can combine multiple References in one generation and tell the Engine exactly where each element should come from. This gives you more control over the Characters, clothing, objects, environments, and other visual details in your video.
Currently supported Engines:
- Sync 3.0
- Motion 3.0
Note: You can add up to 10 References to one generation. Video References are not available yet.
See also:
- How to Prompt for Video Creation: A Definitive Guide — for movement, camera, sound, and general video prompt structure.
- Image to GIF Prompting Guide — for users starting from an existing image and animating it.
- Creating and Using Consistent Characters — useful when Character References are part of the generation.
- Prompt Testing Guide: How to Avoid Wasting Gems on Unsupported Prompts — for testing complex Reference combinations before scaling up.
How Reference-to-Video Works
A Reference provides visual information that the Engine can use while generating your video.
You can combine:
- Characters
- Props
- Backgrounds
- Costumes or other visual details shown in a Reference
- Your Source image
The most important part of the prompt is telling the Engine what you want from each Reference and how it should be used.
Two Ways to Start
Generate a New Source Image
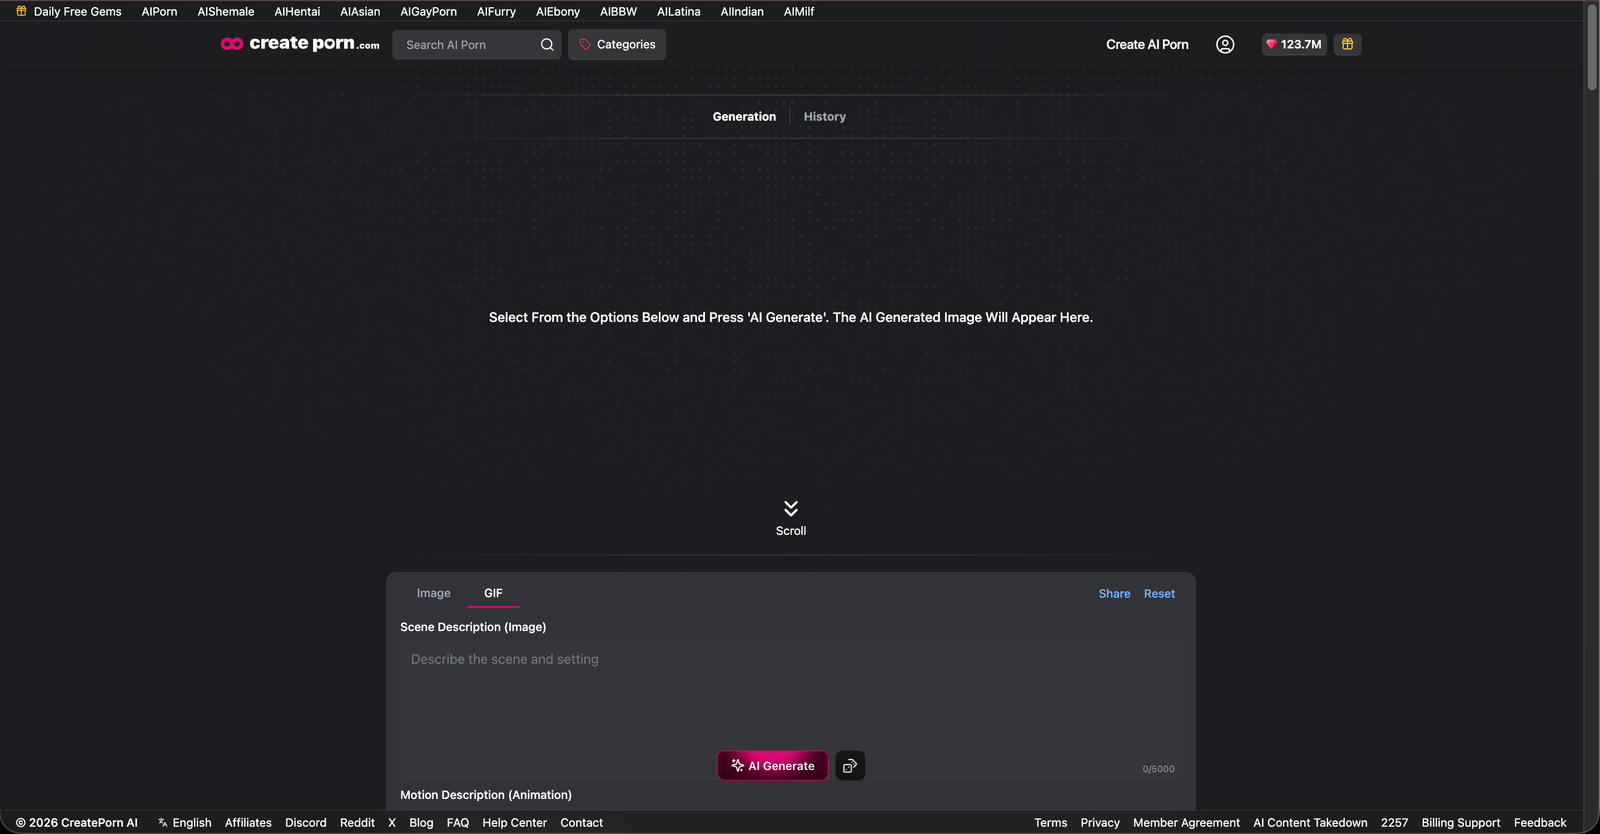
- Open the Create page.
- Generate your base image.
- Open the image for video generation.
- Choose Sync 3.0 or Motion 3.0.
- Add your References.
- Write your prompt.
- Press Generate.
Use an Existing Creation
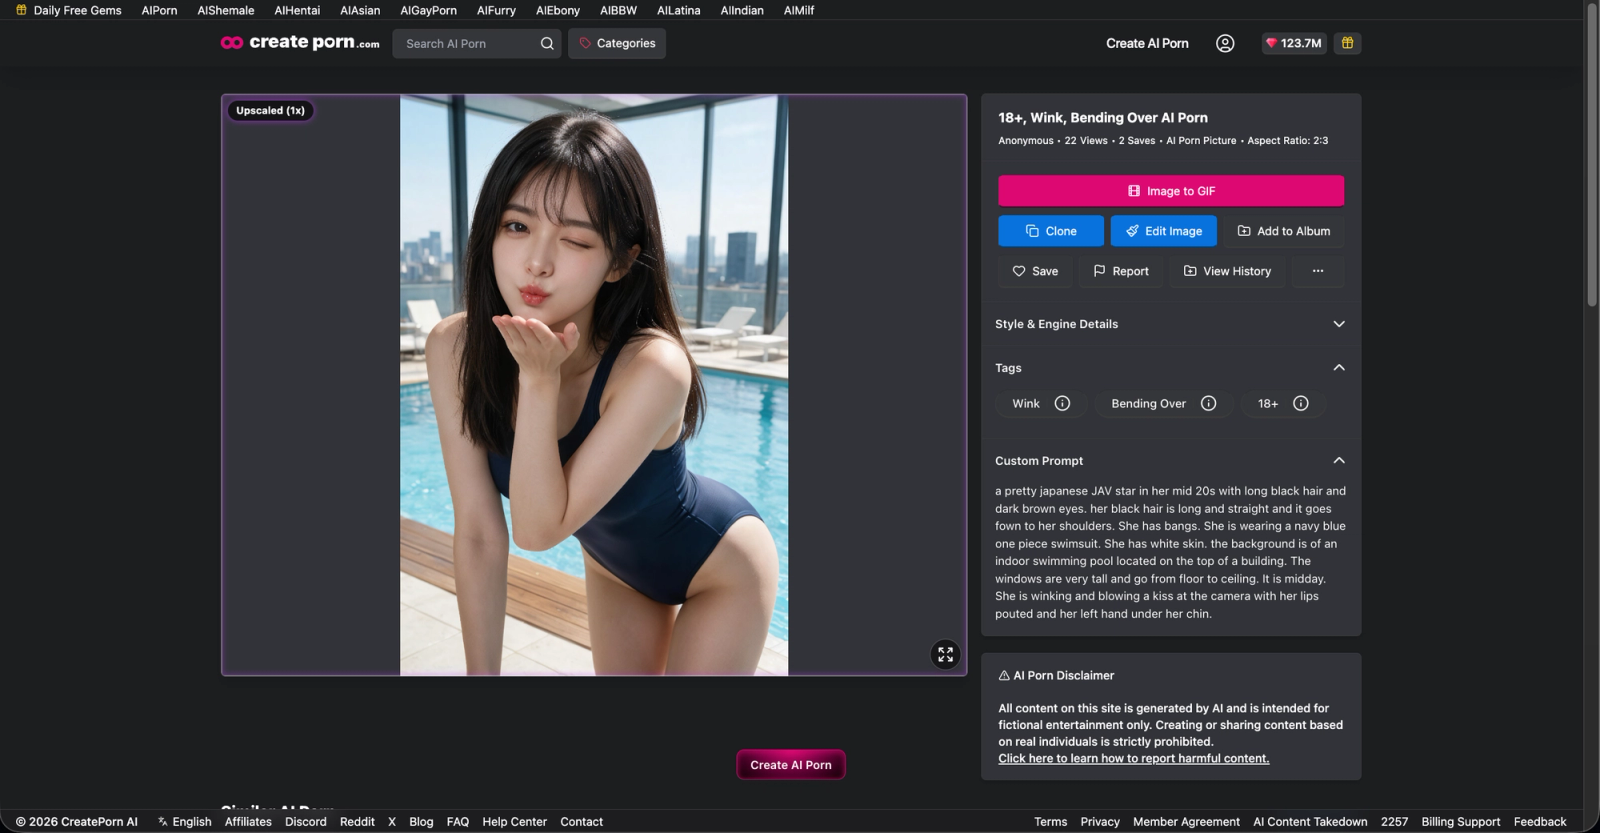
- Open an existing Creation.
- Select Image to GIF.
- Choose Sync 3.0 or Motion 3.0.
- Add your References.
- Write your prompt.
- Press Generate.
Source vs References
Source
The Source is the image used to anchor the video generation.
The Source can be:
- A newly generated image
- An existing Creation
It can be used as:
- The first frame of the video
- The last frame of the video
- A Reference used again later inside your prompt
The Source is flexible. It can define the starting or ending frame while also being used as a visual Reference elsewhere in the prompt.
Additional References
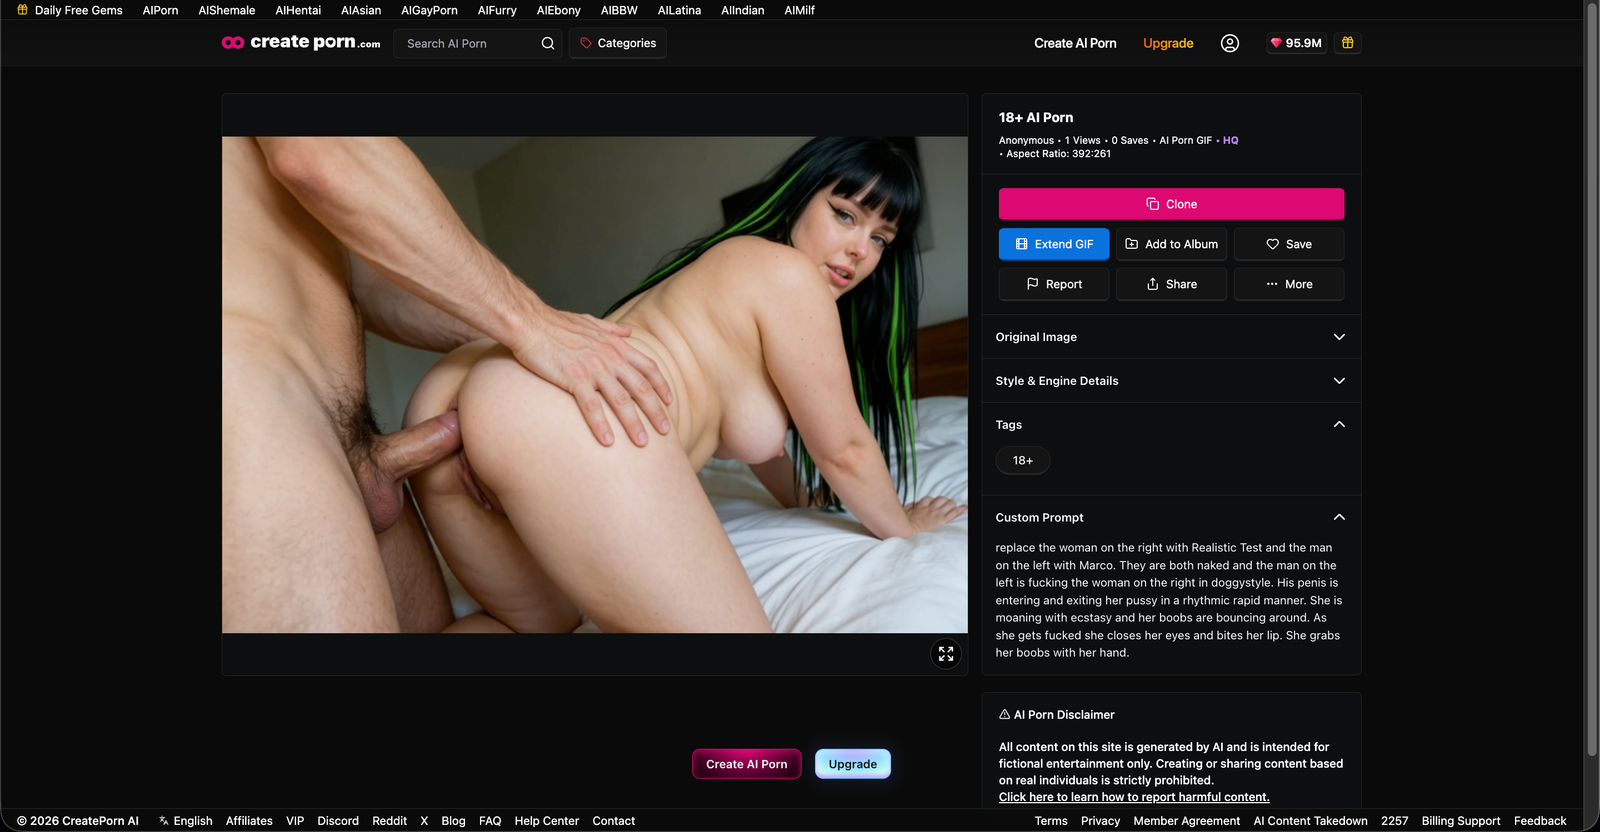
Additional References provide other visual elements you want to use in the video.
You could use:
- The Character from one Reference
- The costume from another
- A Prop from another
- The Background from another
- The woman already visible in @Source
Add References
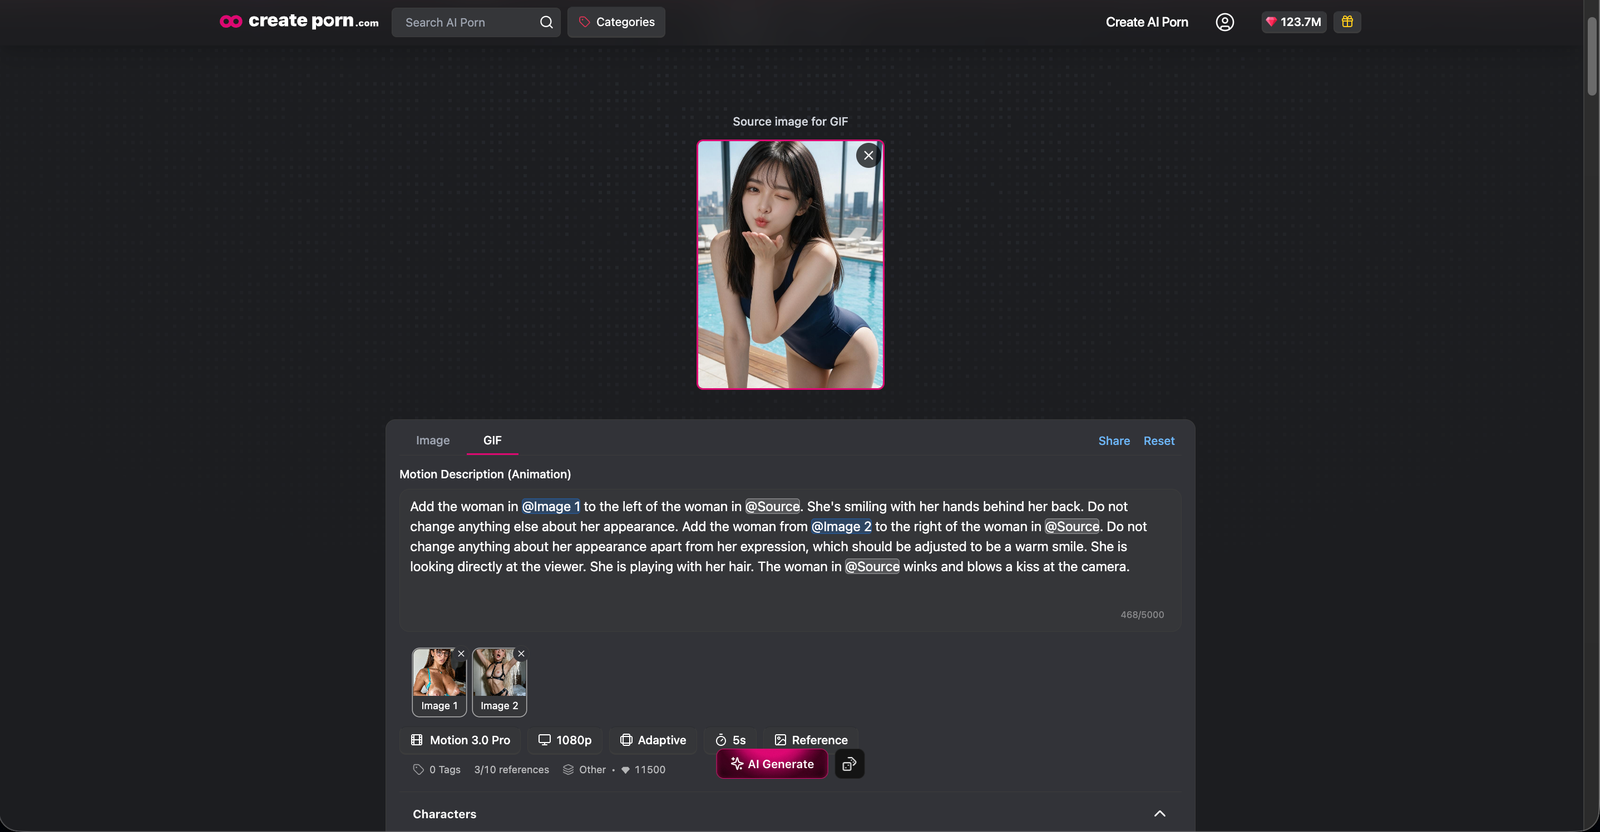
Use the References option to add Characters, Props, or Backgrounds to your generation.
When you select a Reference, the system automatically adds instructions that point to it in your prompt. The selected visual information is then included in the instructions sent to the Engine.
You can still edit the prompt to explain exactly how each Reference should be used.
Use @ to Reference Assets
Use @ inside your prompt to point to the Source or selected References. A Dropdown Menu will appear with all available References for you to choose from.
Note: If you want to use multiple saved images as References, first select them through the Multi-Reference modal. Only References added there will be available to select with @ in your prompt.
A simple structure is:
Use the [ELEMENT] from @[REFERENCE] and [INSTRUCTION].
For example:
Use the costume from @Image 1 and put the woman on the right in @Source in it.
The clearer you are about the element, Reference, and intended result, the easier it is for the Engine to understand the request.
Reference Prompt Structure
For most Reference-to-Video generations, use:
Element + Reference + Integration Instruction + Action
Or:
Use the [ELEMENT] from @[REFERENCE] and apply it to [TARGET]. Then [ACTION].
Step 1: Identify the Element
Decide what you want to use.
This could be:
- Character
- Costume
- Prop
- Background
- Hairstyle
- Other visible details
Step 2: Identify the Reference
Tell the Engine where that element should come from.
For example:
the woman from @Image 1
or:
the jacket from @Image 2
Step 3: Explain How It Should Be Used
Tell the Engine what to do with that element.
For example:
Put the woman from @Source in the jacket from @Image 1.
Step 4: Describe the Video Action
Continue the prompt with normal video instructions.
For example:
Put the woman from @Source in the jacket from @Image 1. She walks toward the window, turns around, and smiles at the camera. Slow camera push-in.
Reference Prompt Examples
| Reference Use | Example |
|---|---|
| Character | “Use the woman from @Image 1 as the main Character. Keep her appearance consistent while she walks through the room.” |
| Costume | “Use the costume from @Image 1 and put the woman on the right in @Source in it.” |
| Prop | “Give the woman in @Source the handbag from @Image 2. She picks it up from the table and walks toward the door.” |
| Background | “Keep the woman from @Source and use the environment from @Image 1 as the Background.” |
| Character + Prop | “Use the woman from @Image 1 as the main Character and give her the guitar from @Image 2. She sits on the sofa and begins playing it.” |
| Character + Background | “Use the woman from @Image 1 as the main Character and place her inside the bedroom from @Image 2. She walks toward the window and looks outside.” |
| Source + Costume + Background | “Keep the woman from @Source. Dress her in the outfit from @Image 1 and place her inside the apartment from @Image 2. She slowly walks toward the camera.” |
Use Multiple References
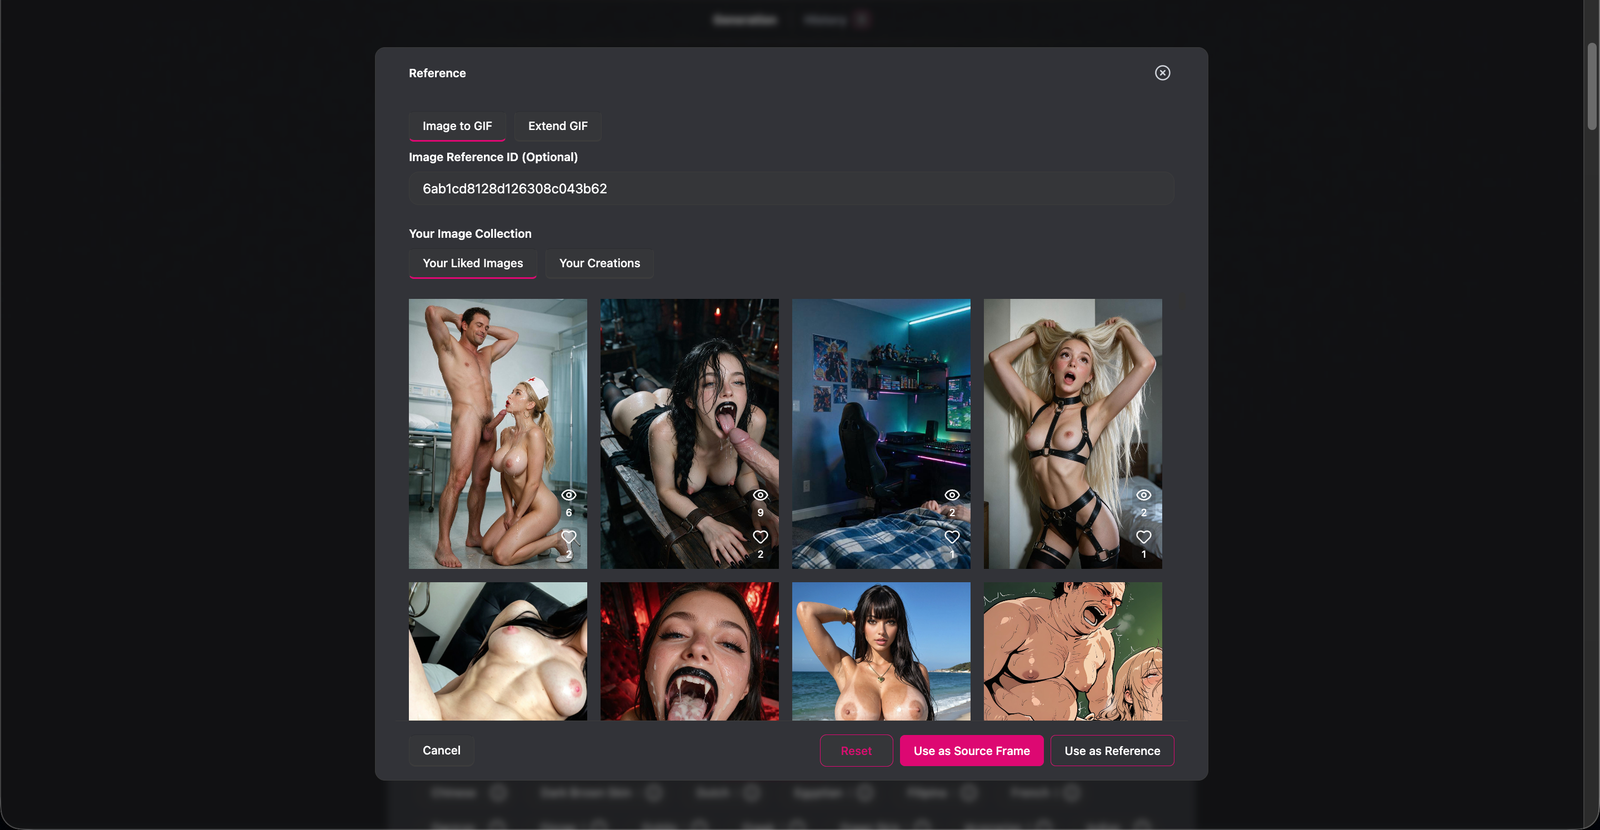
You can combine several References in the same generation.
- Press the References button.
- Select the Reference you want to use then press Use as Reference.
- Add them to the generation.
- Refer to them using @ in your prompt.
- Explain what each Reference should control.
- Press Generate.
Note: A maximum of 10 References can currently be added.
Multi-Reference Prompting
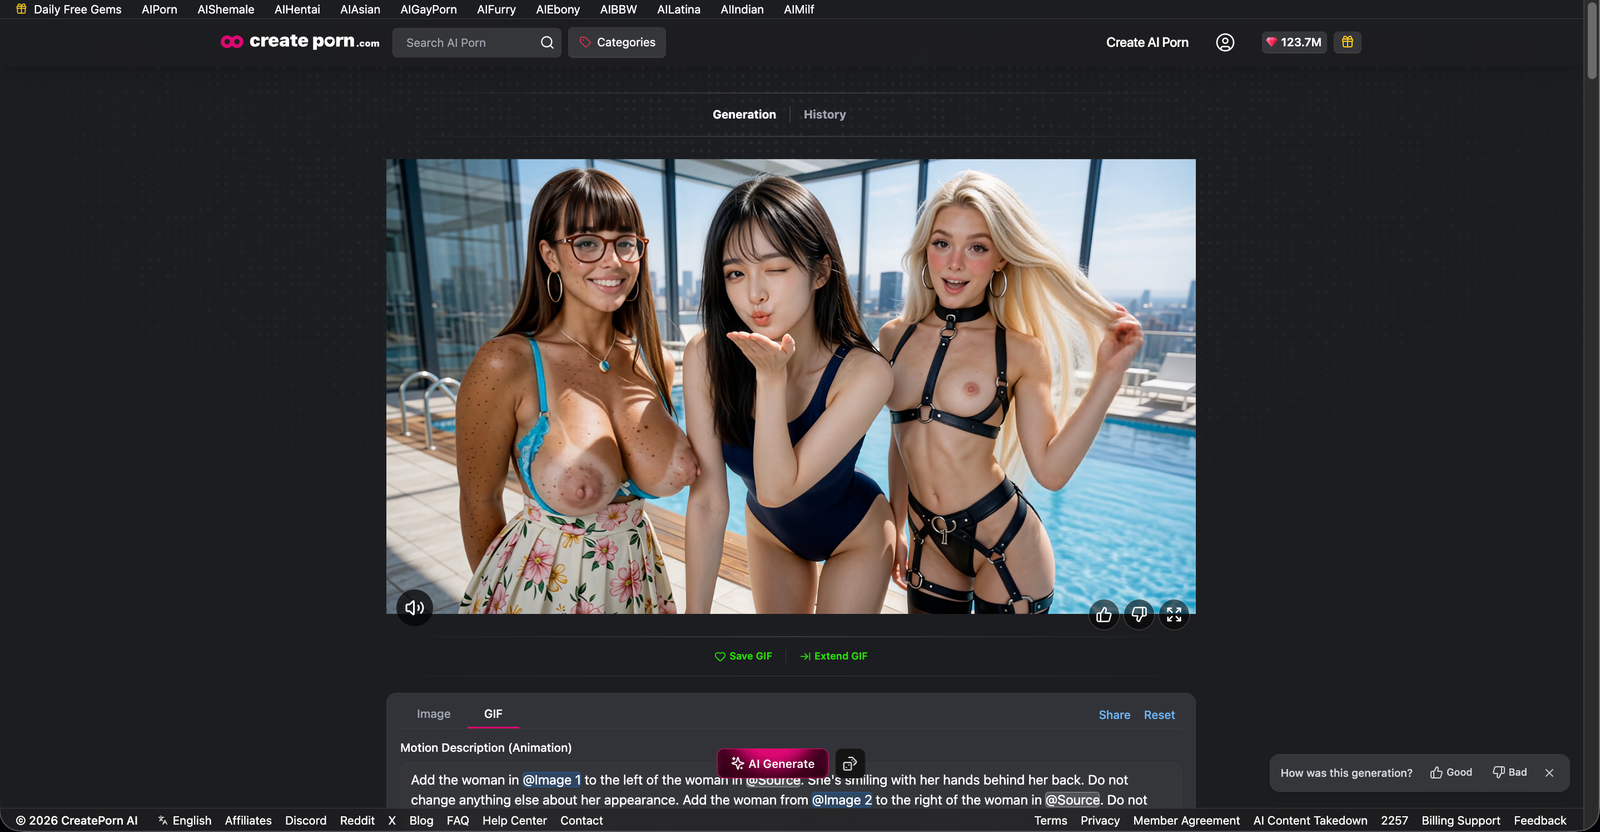
The more References you use, the more important it becomes to clearly assign a role to each one.
Note: A maximum of 10 image References are selectable at this time.
Instead of:
Use all these References.
Write:
Use the woman from @Image 1 as the main Character, the jacket from @Image 2 as her clothing, and the apartment from @Image 3 as the environment. She walks through the apartment while adjusting her jacket.
A useful structure is:
@Reference = Element → @Reference = Element → Scene Action
Clearly mapping each Reference helps prevent different elements from being mixed together.
Characters
Use Character References when you want a specific Character or appearance in the video.
Recommended approach:
- Select the Character Reference.
- Identify it using @.
- Explain what the Character should do.
Example:
Use the woman from @Image 1 as the main Character. She walks slowly toward the camera while smiling.
Props
Use Prop References when you want a specific object to appear.
Tell the Engine both which Prop to use and who should interact with it.
Example:
Give the woman in @Source the red handbag from @Image 1. She picks it up with her right hand and walks toward the door.
Backgrounds
Use Background References when you want the scene to take place in a particular environment.
Example:
Keep the woman from @Source and use the bedroom from @Image 1 as the Background. She sits on the edge of the bed while looking toward the window.
Use the Source as a Reference
The Source does not have to be used only as the video's first or last frame.
You can refer back to @Source when describing Characters or visual elements already present in it.
Example:
Keep the woman from @Source and replace her clothing with the outfit from @Image 1.
This makes it easier to combine your starting image with additional References.
Keep Reference Roles Clear
Avoid vague instructions when several References are selected.
Unclear:
Use these References to make the scene.
Clear:
Use the woman from @Image 1 as the main Character, the outfit from @Image 2 as her clothing, and the cafe from @Image 3 as the Background.
Each selected Reference should have a clear purpose.
Do Not Over-Describe Clear References
If a Reference already clearly shows the element you want, you usually do not need to describe every visual detail again.
Instead of:
Put her in a fitted dark red leather jacket with long sleeves, silver zippers, a folded collar, and polished leather...
Write:
Put the woman from @Source in the jacket from @Image 1.
Then use the rest of the prompt to describe the action, camera movement, sound, or other parts of the video.
Combine References With Video Prompting
Once the Reference mapping is clear, continue the prompt using normal video instructions.
You can describe:
- Character action
- Body movement
- Camera movement
- Environment
- Dialogue
- Sound
- Music
- Constraints
Before You Generate
Review your References and prompt before spending Gems.
Check your References:
- Confirm the correct References are selected.
- Make sure each Reference has a clear purpose.
- Check that you are using the correct @Reference.
- Stay within the 10-Reference limit.
Check your Prompt:
- Identify what should come from each Reference.
- Explain which Character or object each element applies to.
- Describe how the References should interact.
- Keep the main video action clear.
- Remove conflicting instructions.
Once everything is ready, press Generate.
Tips
For better results:
- Start with one or two References before creating more complex combinations.
- Give every Reference a clear role.
- Use @Source, @Image 1, @Image 2, and other References consistently.
- Explain which Character should use each Prop or Costume.
- Use the Source as a Reference when you want to preserve an existing Character or element.
- Do not add References that do not contribute useful visual information.
- Keep the video action focused.
- If a complex generation fails, reduce the number of References and test again.
Need Help?
If your References are not being used correctly, simplify the prompt and check how each asset is assigned.
Common issues:
- The wrong Character appears: Check which @Reference is assigned to the Character.
- The wrong costume or Prop appears: Identify both the element and the Character it should be applied to.
- The Background is ignored: Clearly state that the selected Reference should be used as the environment.
- References are mixed together: Reduce the number of References and give each one a clearer role.
- The Source changes too much: Clearly state which Character or visual elements from @Source should remain.
- Part of the prompt is ignored: Remove secondary instructions and simplify the action.
- The generation is still unsuccessful: Test with fewer References before adding additional elements.
If the issue continues, contact Support with your Source, selected References, Engine, prompt, and affected Creation.