


Lucid: Advanced Image Generation and Editing
On this page
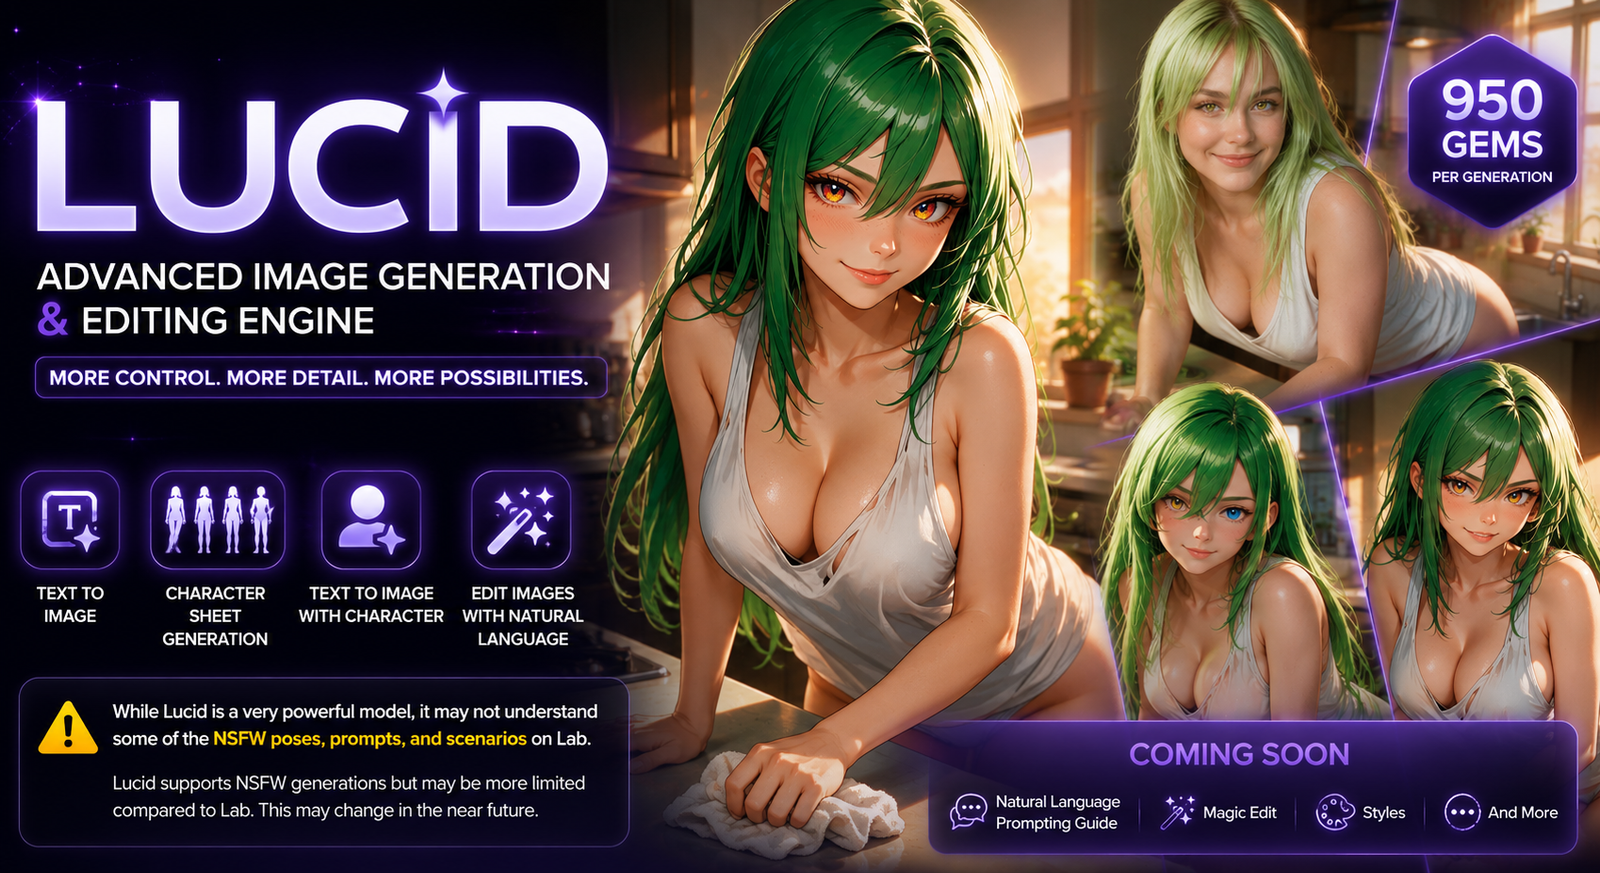
Note: As of September 1st, 2026, Lucid is only available with Text to Image & Consistent Character Generation. Image Editing will be made available soon.
Lucid is an advanced image generation engine designed for users who want maximum control over their creations. It can follow detailed natural-language instructions, work with character references, generate character sheets, and edit existing images.
Lucid works best when you clearly explain what you want in full sentences. The more specific you are about the subject, appearance, pose, environment, composition, lighting, and other important details, the more information the Engine has to work with.
Note: Lucid currently costs 950 Gems per generation. Make sure your prompt and reference image are ready before generating.
What Can You Create with Lucid?
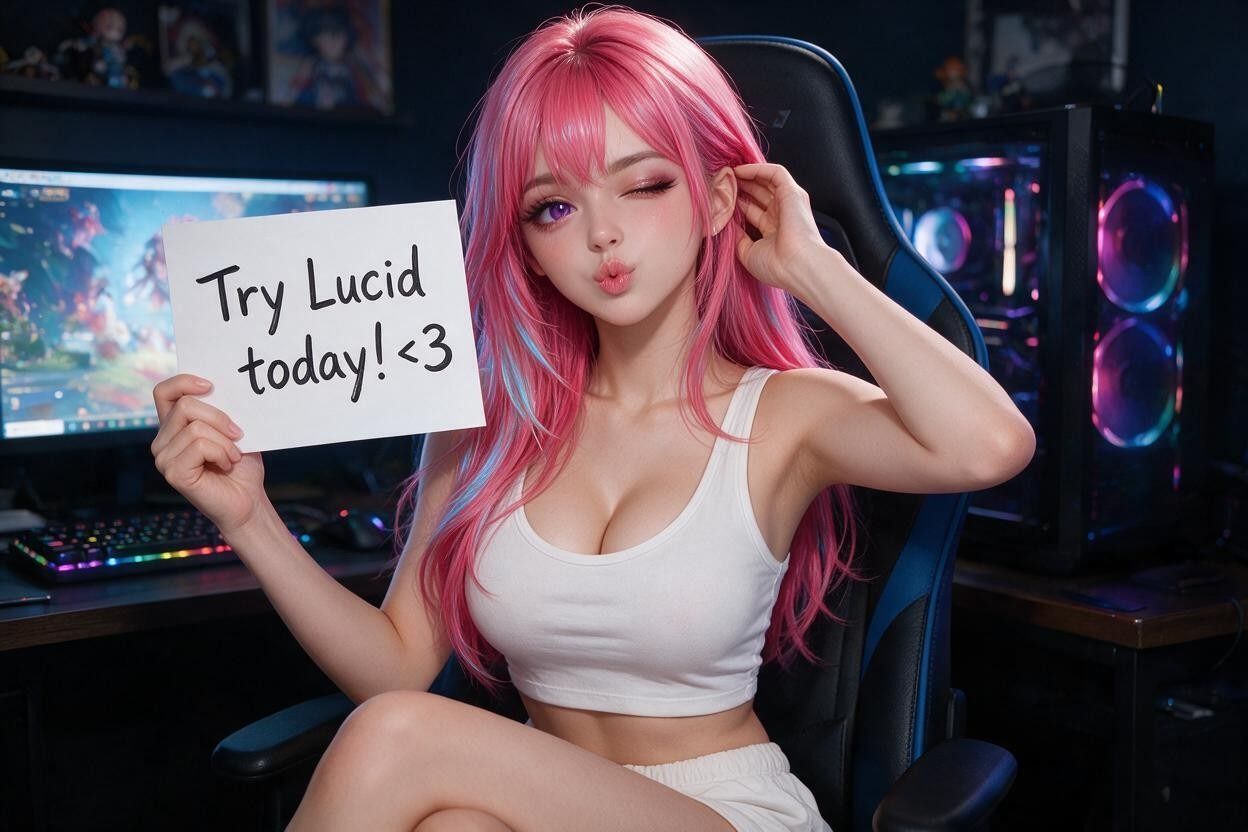
Lucid currently supports several workflows:
- Text-to-Image: Create an image entirely from a written prompt.
- Consistent Character Creation: Generate a character sheet to establish a character's appearance and details.
- Text-to-Image with a Character: Use a character reference to place an existing character into a new scene.
- Image Editing: Edit an existing creation using natural-language instructions through Image Edit → Select Edit Plus.
More Lucid features and reference options will be added in future updates.
Before You Spend Gems
Lucid is a powerful Engine, but results can vary depending on the complexity of your prompt, reference image, pose, and requested scene.
Before repeating a generation:
- Review your prompt and make sure your instructions are clear.
- Make sure your reference image clearly shows the character or subject you want Lucid to understand.
- Avoid contradictory instructions.
- If a result is not correct, change the prompt before generating again.
Starting with a single test generation can help you understand how Lucid interprets your prompt before spending additional Gems.
How to Write Prompts for Lucid
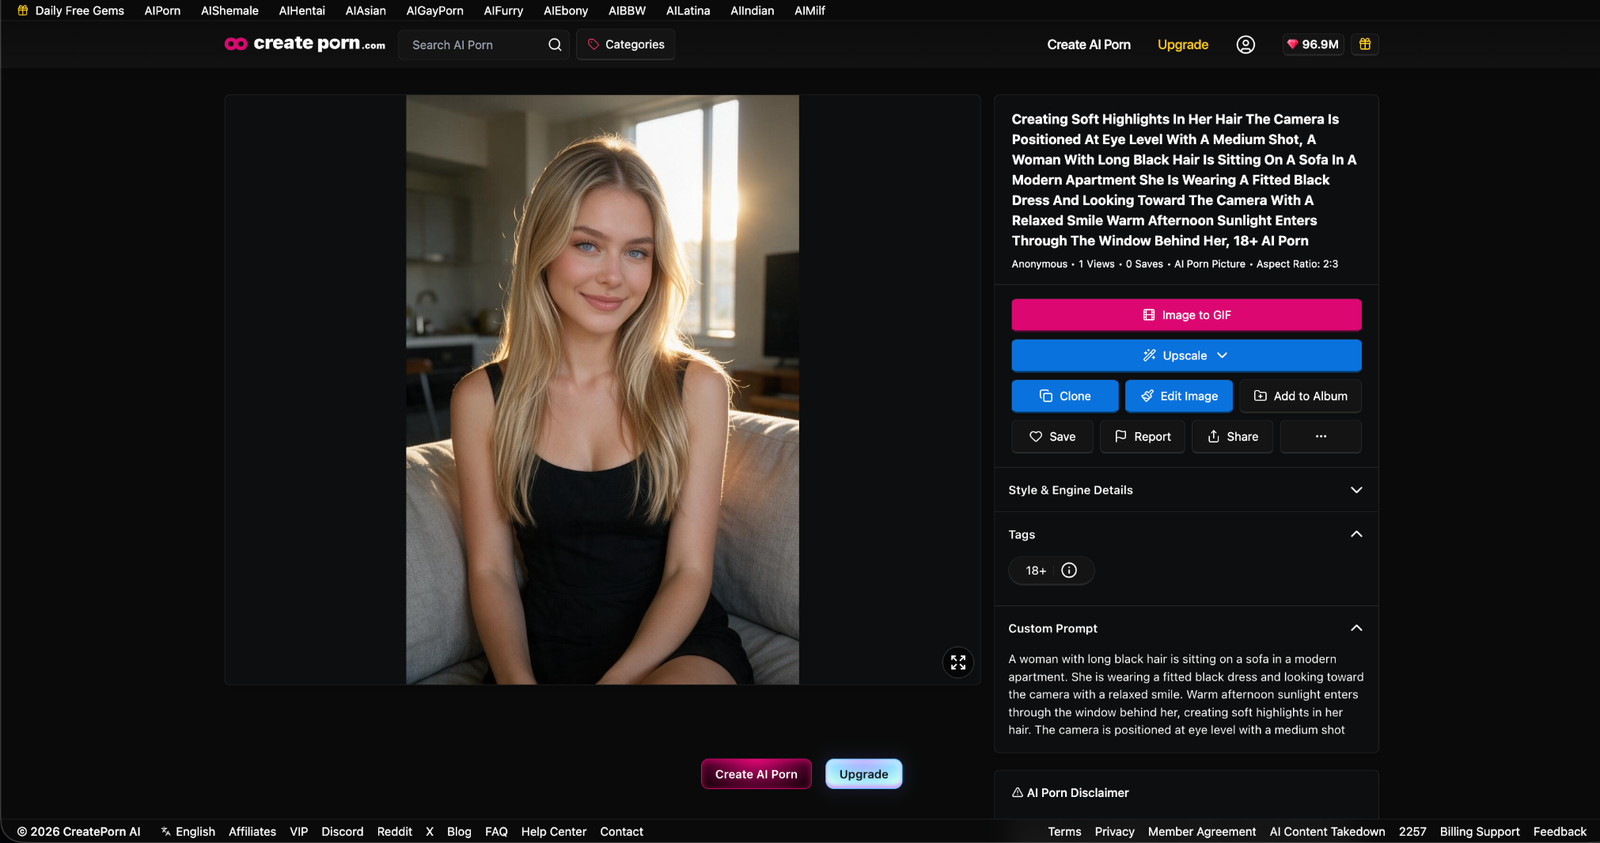
Lucid works best with natural-language prompts.
Instead of entering a short list of keywords, describe the image as if you were explaining it to another person.
Example
A woman with long black hair is sitting on a sofa in a modern apartment. She is wearing a fitted black dress and looking toward the camera with a relaxed smile. Warm afternoon sunlight enters through the window behind her, creating soft highlights in her hair. The camera is positioned at eye level with a medium shot.
A keyword-based prompt such as:
woman, black hair, black dress, apartment, sofa, sunlight
provides much less information about how the elements should relate to each other.
Be Specific
When something is important to the final image, describe it clearly.
You can include:
- Subject: Who or what should appear
- Appearance: Hair, face, body, clothing, and other defining details
- Pose: How the subject is positioned
- Action: What the subject is doing
- Environment: Where the scene takes place
- Composition: Where subjects and important objects appear
- Camera: Viewpoint, framing, or shot type
- Lighting: Light direction, intensity, and mood
- Style: The overall visual appearance
- Important details: Anything that should be preserved or emphasized
You do not need to include every category in every prompt. Focus on the details that matter most for the image you are trying to create.
Describe Relationships Between Subjects and Objects
Lucid can interpret relationships between different parts of a scene, so explain where things are and how they interact.
Instead of:
Woman, bedroom, bed, lamp.
Try:
The woman is sitting on the edge of the bed, with a table and lamp positioned beside her on the right. A large window is behind the bed.
This gives Lucid more information about the intended composition.
Text-to-Image Generation
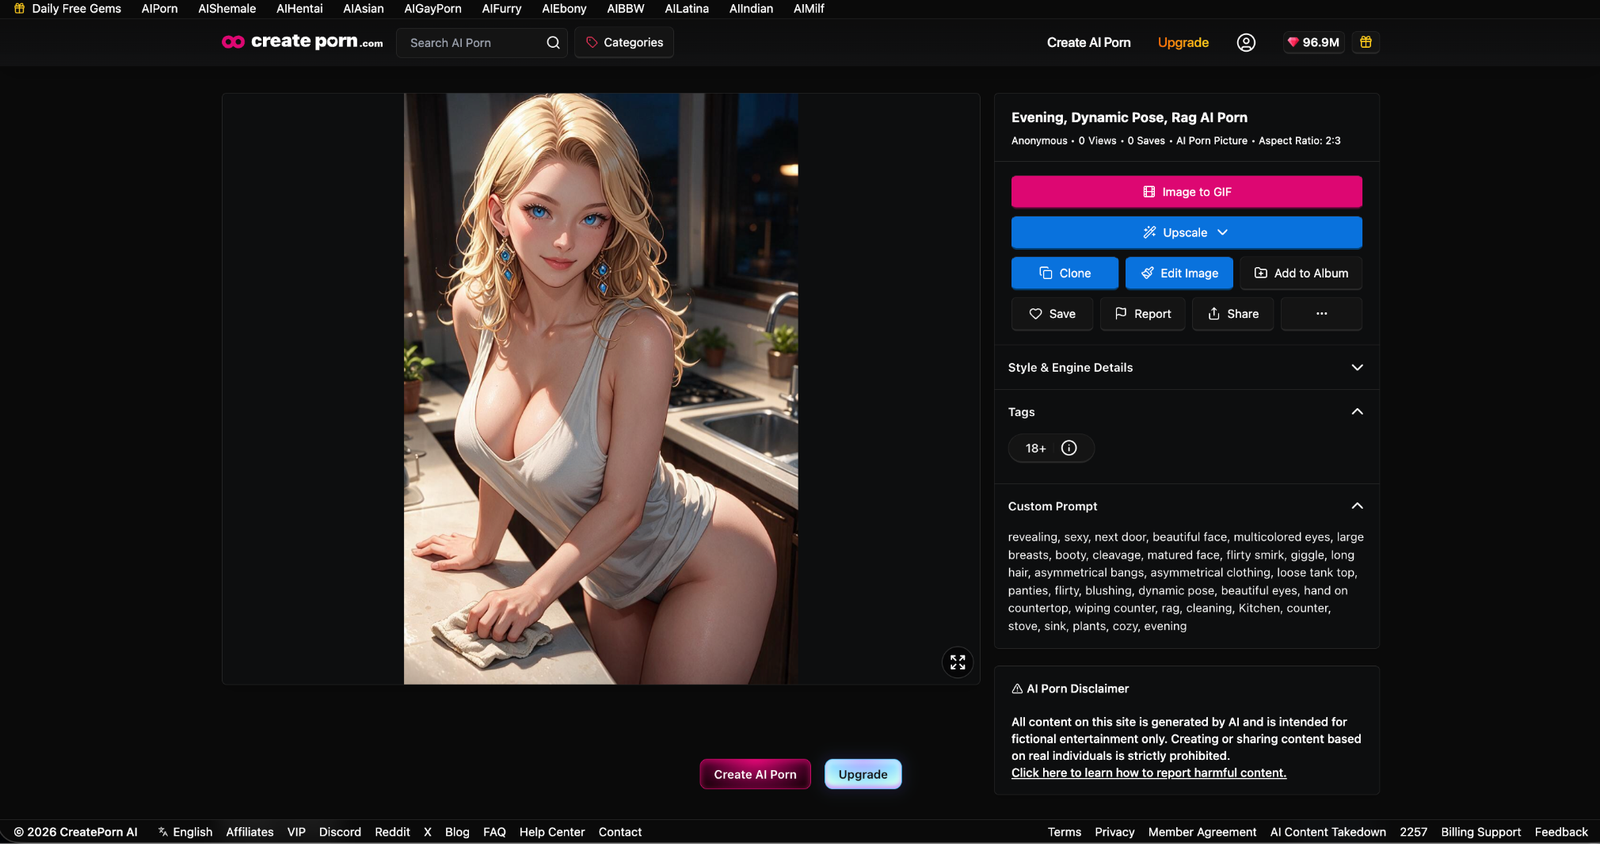
Text-to-Image allows you to create an image from a written description without using a character reference.
How to Create an Image
- Head to the Create Page.
- Select Lucid as the Engine.
- Select your Style, or use Lucid Sandbox if you want to generate without a Style applied.
- Enter your prompt.
- Review the prompt and make sure the important details are clearly described.
- Generate your image.
- Review the result before making another generation.
950 Gems are required for each Lucid generation.
Lucid Sandbox
Lucid Sandbox lets you use Lucid with no Style applied, giving you more freedom to control the final result directly through your prompt.
Because there is no selected Style influencing the output, describe the visual style, subject, composition, lighting, and other important details directly in your prompt.
Start With the Most Important Details
If the image contains many details, describe the most important elements first.
For example:
A woman with long silver hair wearing a black leather jacket is standing in a neon-lit city street at night...
You can then continue with details about her pose, environment, lighting, camera, and visual style.
Consistent Character Creation
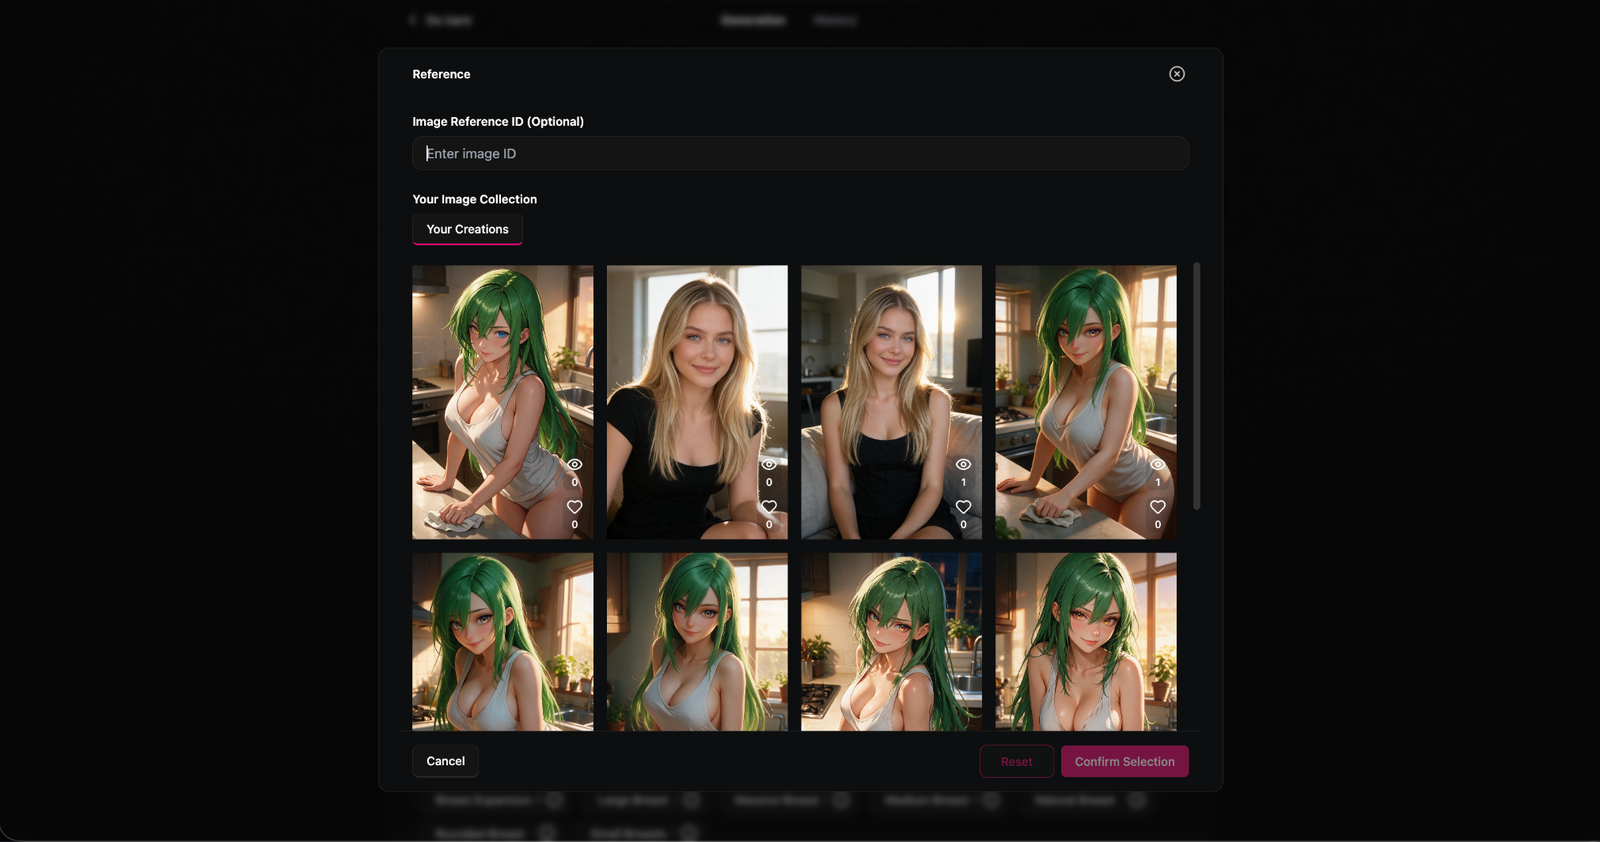
Lucid can be used to create a character sheet that establishes a character's appearance. You can either create a Consistent Character using a Reference image or by describing them using Prompts or Tags.
If you decide to use Prompts to describe your Character follow this formula:
- Facial features
- Hairstyle and hair color
- Eye color
- Body and appearance
- Clothing
- Distinguishing features
- Overall visual style
Keep the character description specific and consistent.
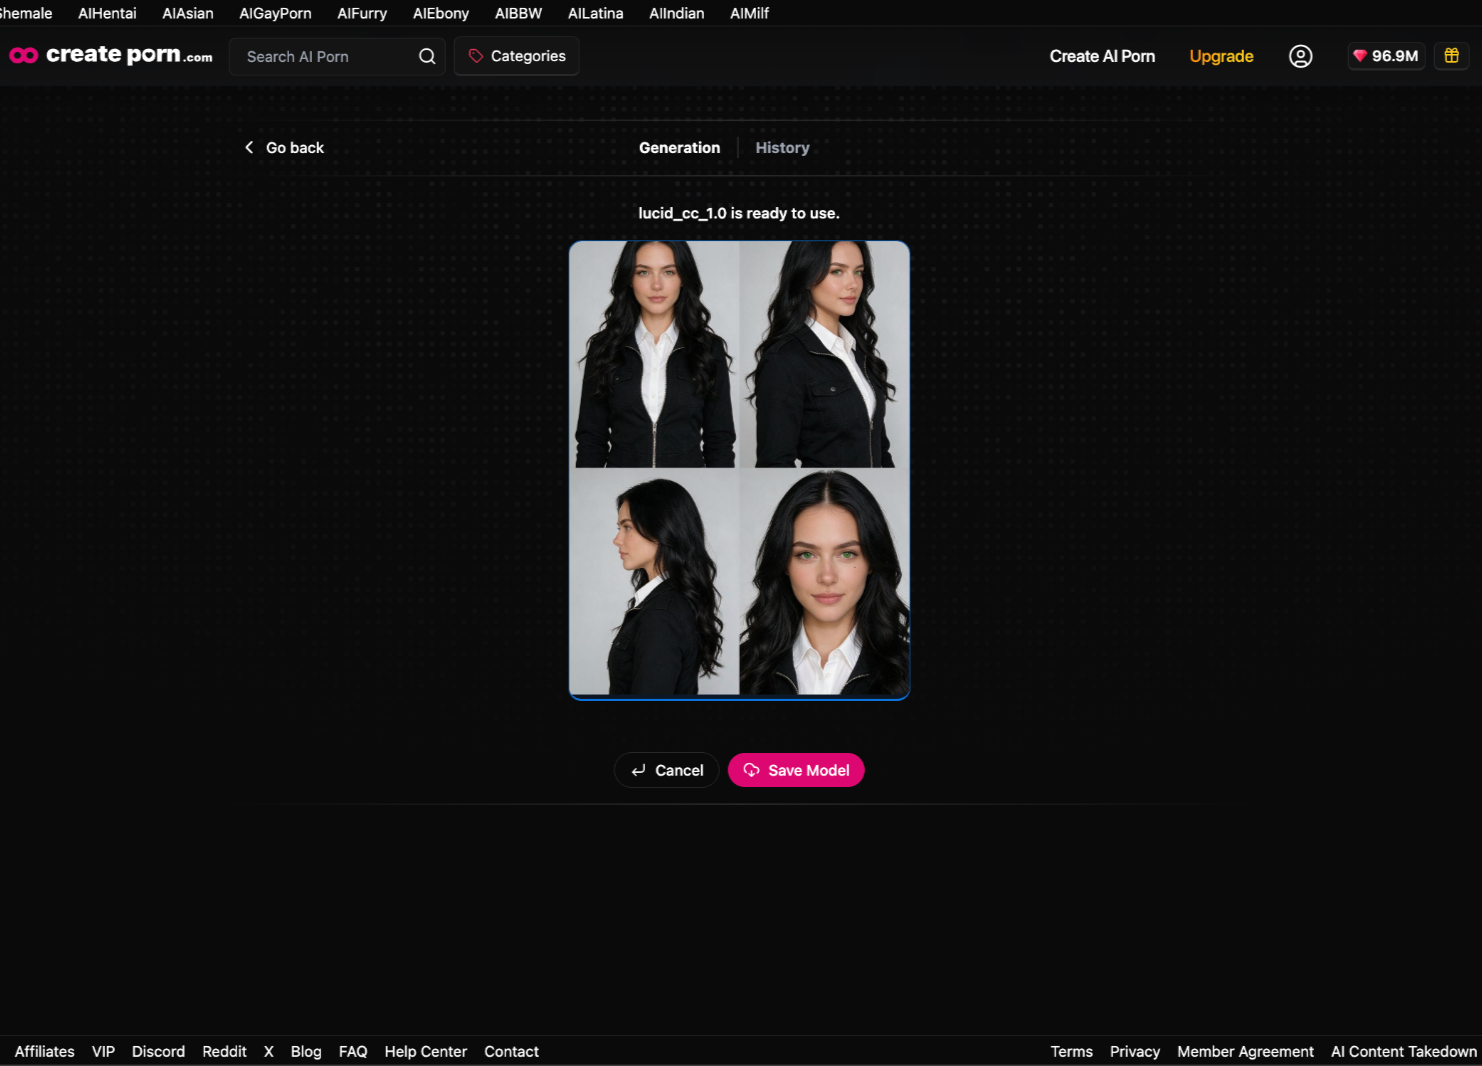
Example
Create a character sheet of an adult woman with long wavy black hair, green eyes, fair skin, and a beauty mark below her left eye. She has an athletic build and wears a fitted black jacket over a white shirt. Show her from multiple angles while keeping her facial features, hairstyle, proportions, and clothing consistent.
Once you have a useful character reference, you can use it in supported character-generation workflows.
Generate Images With a Character
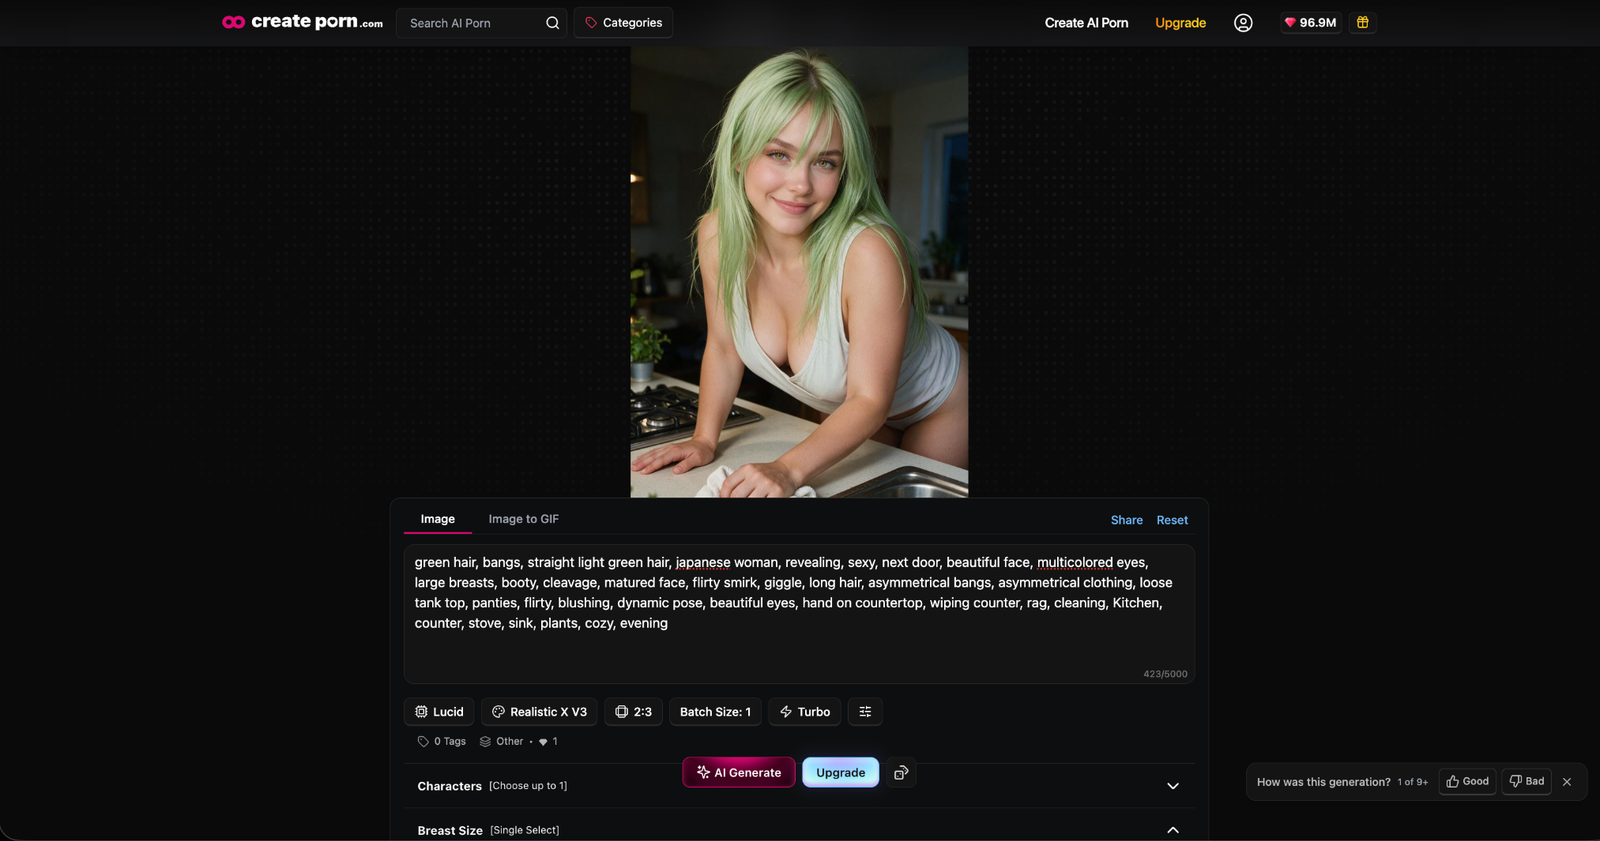
Lucid can use a character reference image to help recreate an existing character in a new scene.
At launch, Lucid supports one reference image. Additional reference-image support is planned for future updates.
How to Use a Character Reference
- Select the character reference you want to use and create a Consistent Character with it.
- Select Lucid as the Engine.
- Describe the character and the new scene in your prompt.
- Explain which characteristics of the character should remain consistent.
- Describe the new pose, action, environment, clothing, and composition.
- Generate the image.
- Review the result and refine your prompt if necessary.
Describe What Should Stay Consistent
When using a character reference, clearly explain the important characteristics you want Lucid to preserve.
Example
Use the character from the reference image as the same character. Keep her facial features, hairstyle, hair color, eye color, and overall appearance consistent. Place her in a modern bedroom, sitting on the edge of the bed and looking toward the camera.
Then add any scene-specific instructions.
Don't Assume the Reference Explains Everything
A reference image provides visual information, but you should still describe what you want Lucid to do with the character.
For example, explain:
- What the character is doing
- Where they are
- How they are positioned
- What they are wearing
- How the camera is positioned
- What the lighting should look like
Editing Images With Lucid
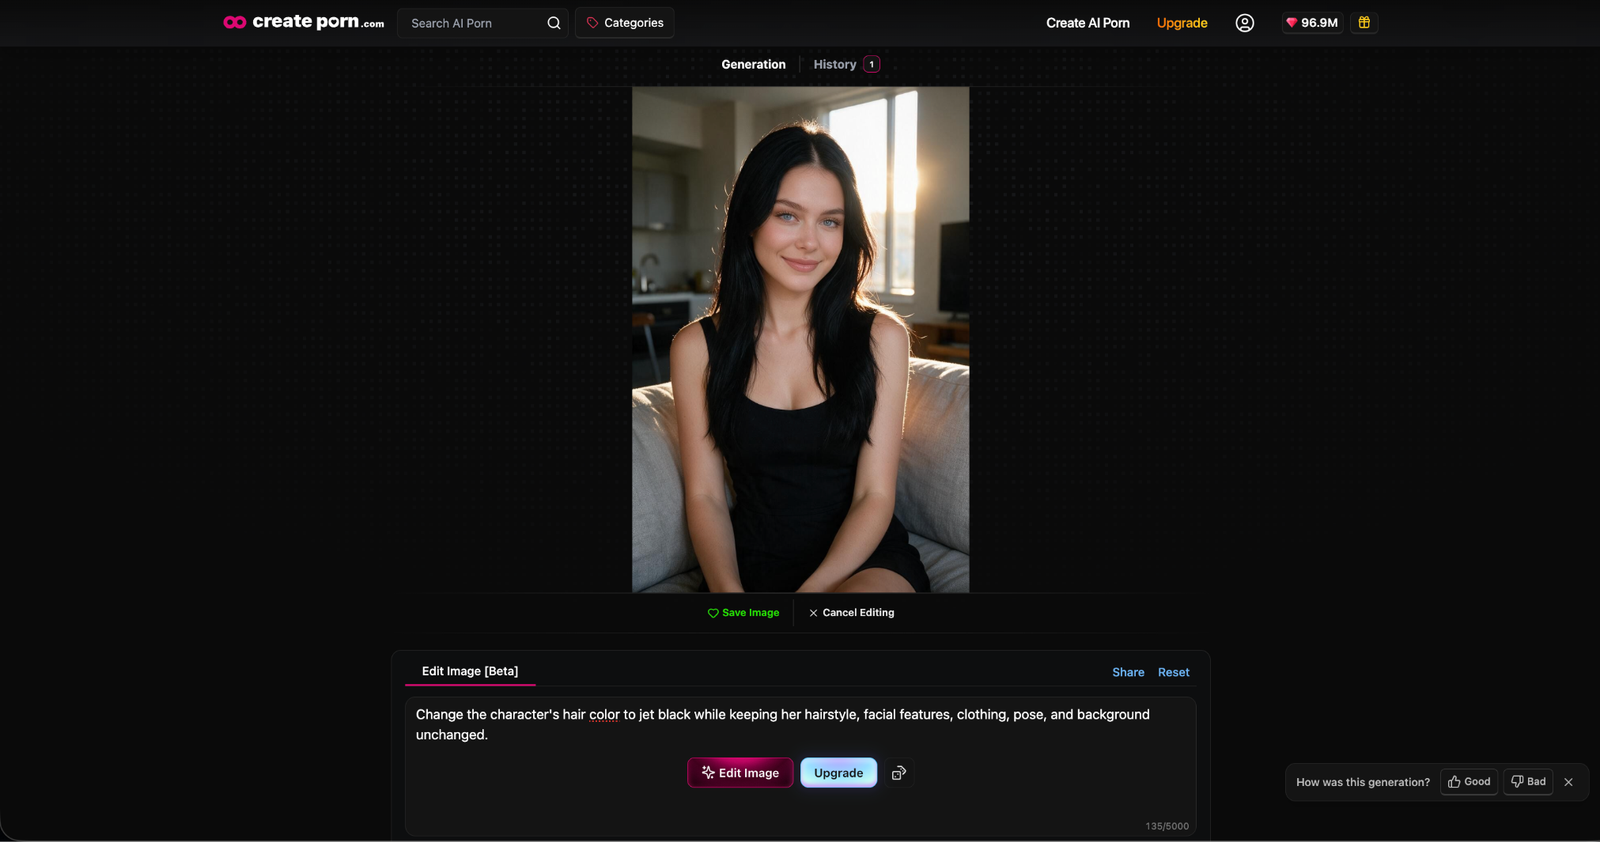
Lucid can also be used to edit existing images.
To access the Lucid editing workflow, open Image Edit and select Edit Plus.
This allows you to describe the changes you want to make using natural language.
Make One Clear Change at a Time
As with other editing workflows, er and more specific changes are generally easier to control.
Example
Change the character's hair color to jet black while keeping her hairstyle, facial features, clothing, pose, and background unchanged.
Rather than asking for several unrelated changes at once, make the most important change first and review the result.
Identify the Subject Clearly
If an image contains multiple characters, make it clear which character you want to edit.
Example
Change the hair color of the woman on the right to dark red while keeping the other character unchanged.
This gives the Engine a clearer instruction about which part of the image should be modified.
Lucid and NSFW Generation
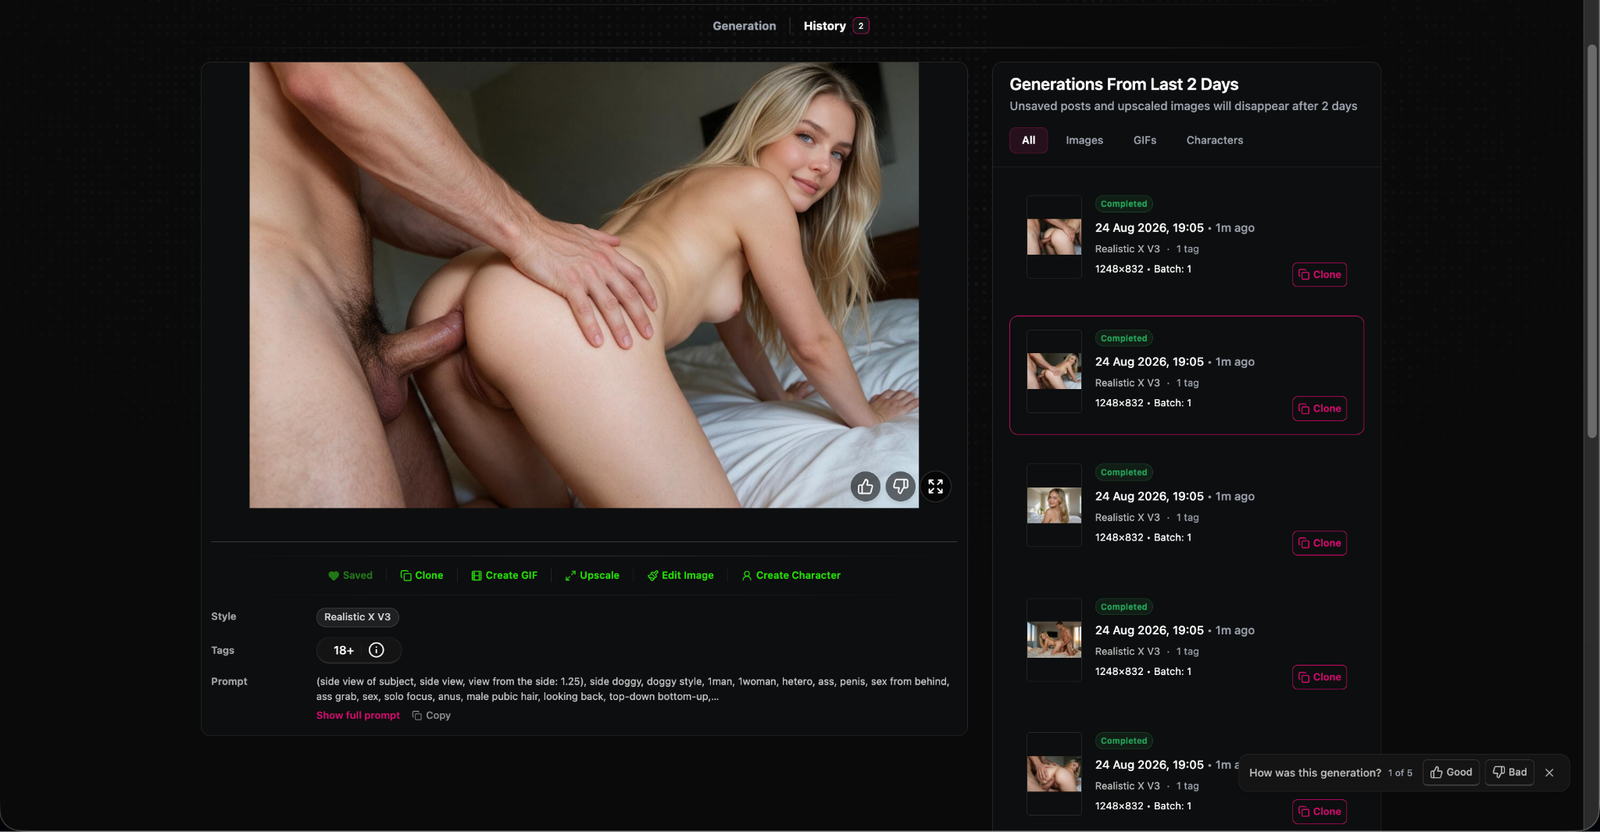
Lucid supports NSFW image generation, but its ability to understand some NSFW poses, prompts, and scenarios may be more limited than Lab.
Note: While Lucid is a very powerful model, it may not understand some of the NSFW poses, prompts, and scenarios that work with Lab. Results can vary depending on the complexity of the requested pose or scene. Lucid's NSFW capabilities may improve with future updates.
For difficult poses or scenarios:
- Describe the pose clearly and specifically.
- Keep the rest of the scene relatively simple.
- Make sure the reference image clearly shows the character.
- Avoid combining multiple complex actions in one prompt.
- If the result is incorrect, simplify or reword the prompt rather than immediately repeating it.
Tips for Better Lucid Results
Use natural language
Write complete sentences instead of relying on short keyword lists.
Be specific
Describe important visual details instead of assuming Lucid will infer them.
Describe the pose clearly
Explain the subject's position, body orientation, and action.
Explain composition
Tell Lucid where important subjects and objects should appear.
Use a clear reference image
When using a character reference, choose an image where the character is clearly visible.
Avoid conflicting instructions
Make sure your descriptions point toward one clear visual result.
Refine unsuccessful prompts
If the result is not what you expected, identify what went wrong and change that part of the prompt.
Need Help?
If Lucid does not produce the result you expected:
- Review your prompt and simplify any unclear instructions.
- Make sure the important details are described specifically.
- Check that your reference image clearly shows the subject.
- Try changing the wording of the prompt instead of repeating the same request.
- Save successful generations before experimenting with additional edits.
If you continue to experience problems, contact Support and include the prompt you used, the resulting creation, and any relevant screenshots.